
GBP
Help Center
How to hang a wall mirror
Hanging a wall mirror is a great way to add style and depth to any room. It's an easy DIY project that requires few materials and just a bit of know-how. Here are the steps you need to follow for successful mirror-hanging:
1. Start by determining the desired height for your mirror, taking into account its size and shape as well as the proximity to furniture pieces or artwork. Consider if the mirror needs to be hung at eye level or higher.
2. Before purchasing your mirror, measure the area you’d like it installed on so you can purchase one that fits in that space. Be sure to also keep in mind what kind of mounting hardware it will require – some mirrors may require additional components like heavy duty clips or special adhesives.
3. Gather all the tools and materials needed for your task: screwdriver, hammer, nails, screws, drill (if necessary), masking tape, level and ruler. Make sure your wall has no heaters or electrical outlets in it before moving on to the next step – you don’t want to damage them!
4. Depending on how much weight your chosen wall mount can hold, use either nails or screws to hang it up on the wall (some heavier mirrors may require two mounts). Use a level tool and masking tape as guides for accurate placement – make sure everything is perfectly straight! If needed, pre-drill holes first before inserting screws or nails into the wall surface.
5. Finally, carefully hang up your mirror onto its mounts according to their instructions (some may use heavy-duty clips while others may have specific adhesives). Ensure that it is secure and won’t slip or fall off by giving it a gentle nudge with your hand once hanging up is complete – if there’s any movement at all then this may indicate instability so adjust accordingly until satisfied with its secure positioning!
And there you have it! You now have successfully hung your beautiful new wall mirror and can enjoy its decorative addition to any room in your home! With these tips in mind, hanging a wall mirror should be an easy task from now on!
-
Customer Services
-
About Us
-
Follow Us
Signup
- Subscribe to our newsletter
By subscribing to our newsletter you agree to our terms & conditions
- Subscribe to our newsletter
-
Safe & Secure Payments
- Cards
Cards
Contact Us
Verified partner of British Institute of Interior Design.

See some of our products Featured on This Morning's Light up your Homemade Garden.?
- Cards

 New In
 See Everything
 Bestsellers
 Furniture
 Mirrors
 Home Decor & Accessories
 Shop By Room
 Back In Stock
 Christmas Decorations
 SALE
SALE View All Furniture
 Furniture Ranges
  Browse by Colour
  Bedside Tables
 Chest of Drawers
 Dressing Tables
 Wardrobes
 Furniture Sets
 Sideboards & Cupboards
 Wall Cabinets & Shelving
 Console Tables
 Bar Carts & Drinks Trolleys
 Stools
 Occasional & Side Tables
 Coffee Tables
 Seating, Sofas & Pouffe
 View All Bedroom
 Bedside Tables & Nightstands
 Chest of Drawers
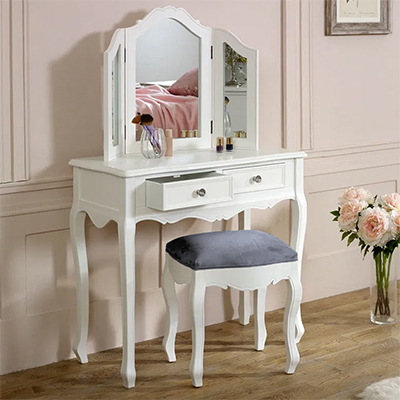 Dressing Tables
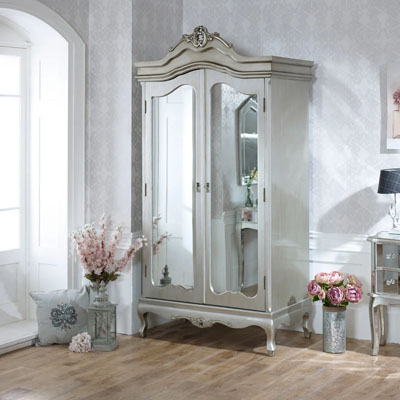 Wardrobes
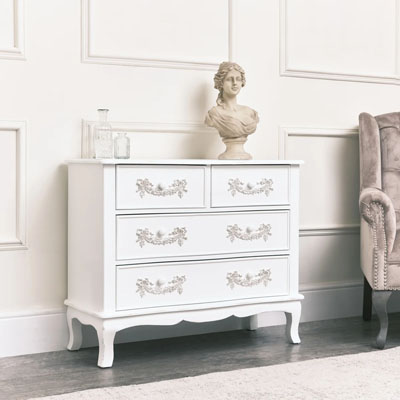 White Bedroom Furniture
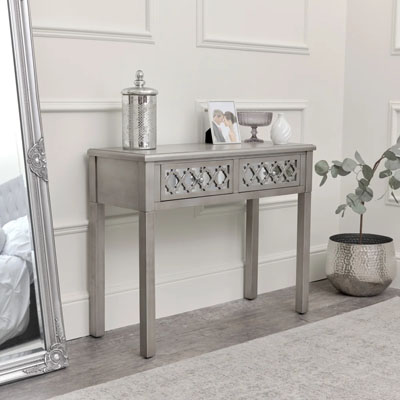 Mirrored Bedroom Furniture
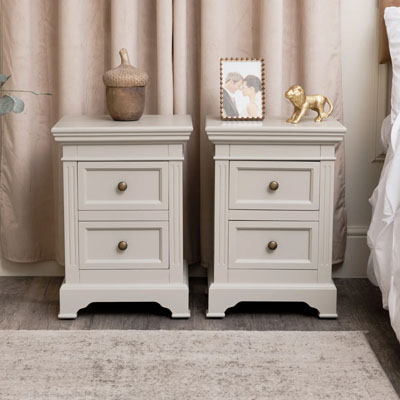 Grey Bedroom Furniture
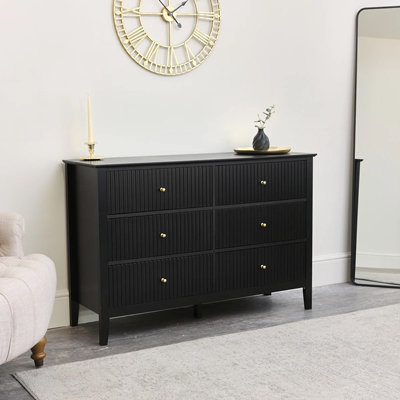 Black Bedroom Furniture
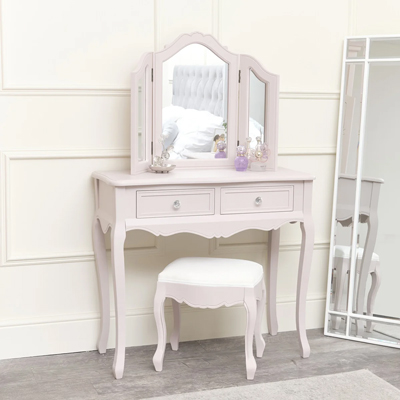 Pink Bedroom Furniture
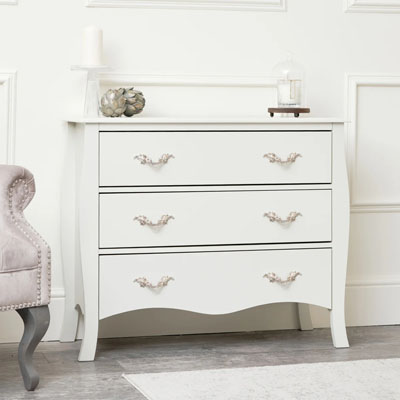 Cream bedroom Furniture
 Bedroom Furniture Sets
 Dressing Table Mirrors
 Large Bedroom Mirrors
 Bedroom Accessories & Shelving
 View All Living Room
 Coffee Tables
 Console, Side & Occasional Tables
 Display Cabinets
 Shelves & Cupboards
 View All Mirrors
 Wall Mirrors
 Full Length Mirrors
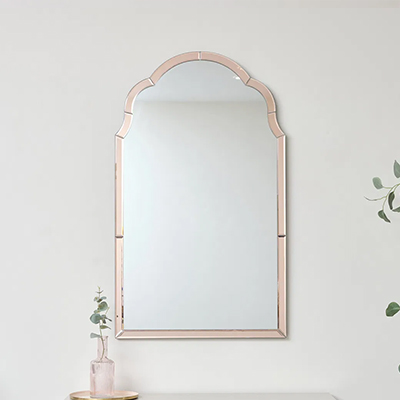 Art Deco Mirrors
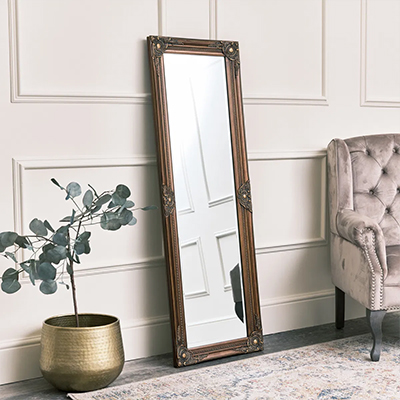 Leaner Mirrors
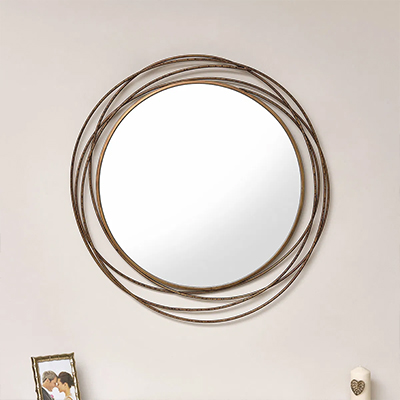 Round Mirrors
 Arched Mirrors
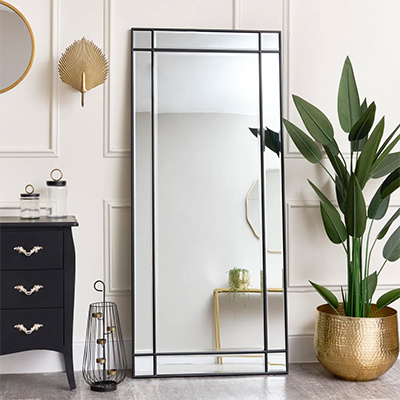 Large Mirrors
 Black Mirrors
 Gold Mirrors
 Silver Mirrors
 White Mirrors
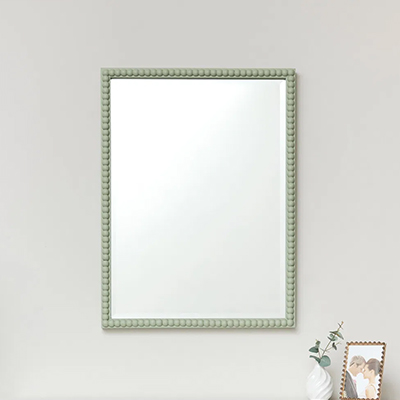 Green Mirrors
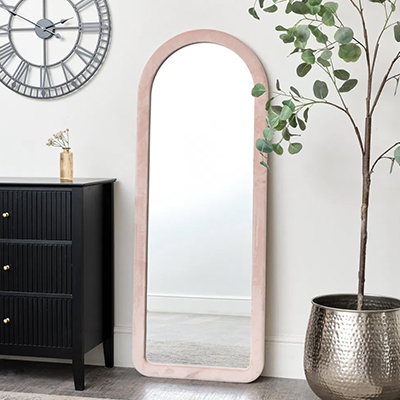 Pink Mirrors
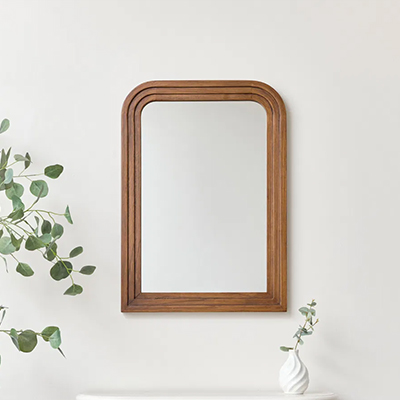 Wooden Mirrors
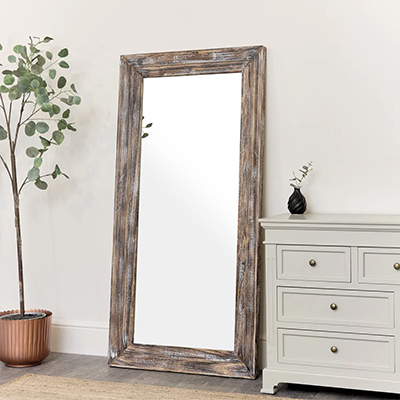 Rustic Mirrors
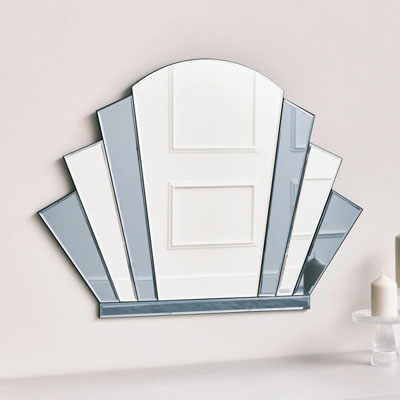 Grey Mirrors
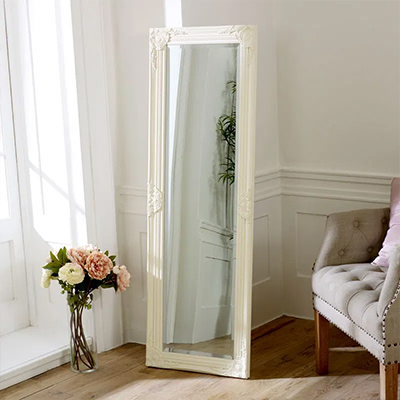 Cream Mirrors
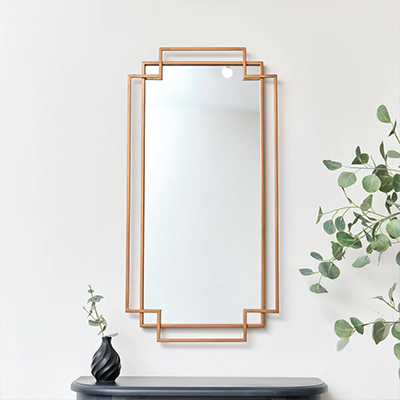 Copper Mirrors
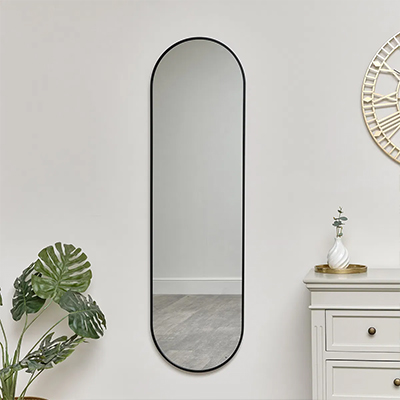 Thin Framed Mirrors
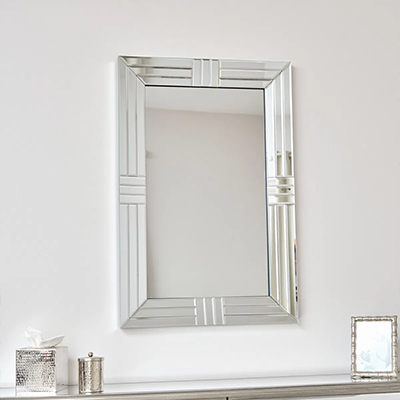 Frameless Mirrors
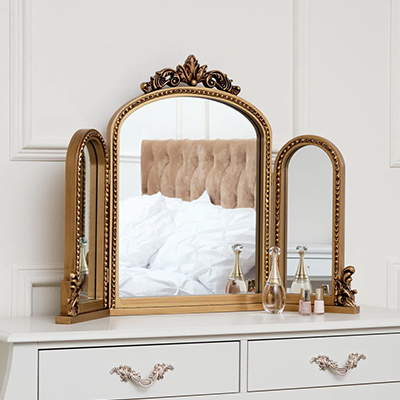 Dressing Table Mirrors
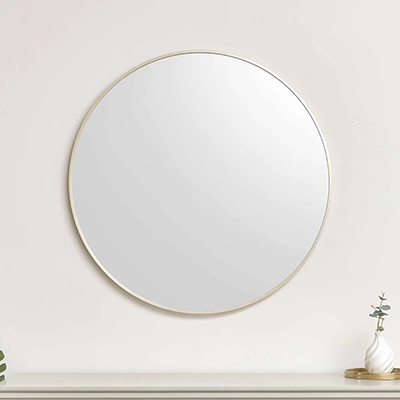 Bathroom Mirrors
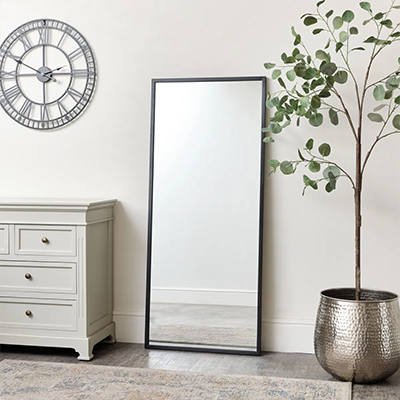 Commercial Mirrors
 Salon & Boutique Mirrors
 Garden Mirrors
 View All Wedding Decor & Candelabras
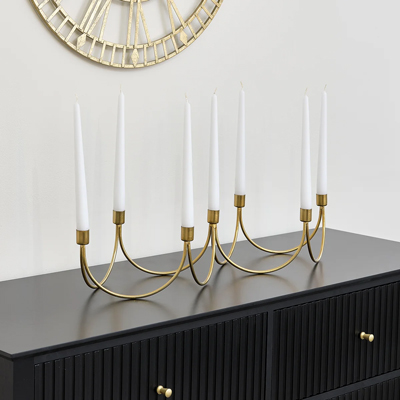 Candelabras & Tealight Holders
 Wedding Table Decor
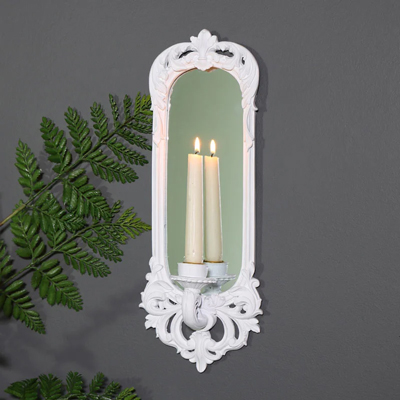 Wedding Decor
 View All Kitchen & Dining
 Kitchen Sideboards & Cupboards
 Kitchen & Dining Accessories
 Kitchen Table Decor
 Kitchen Wall Cabinets & Shelves
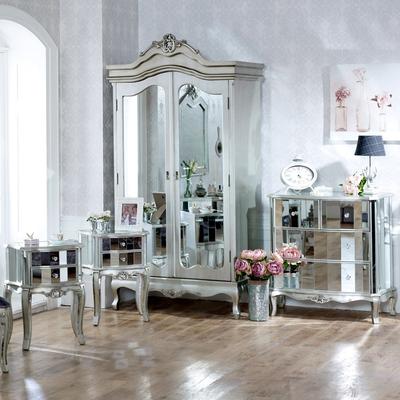 Furniture Sets Sale
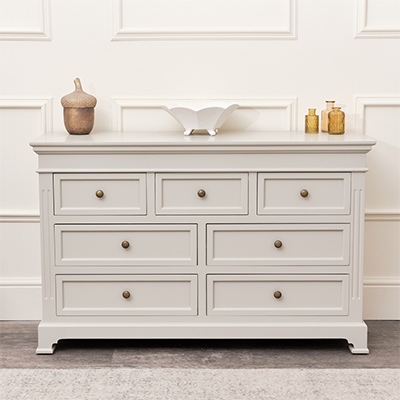 Clearance Sale
 Bestsellers Sale
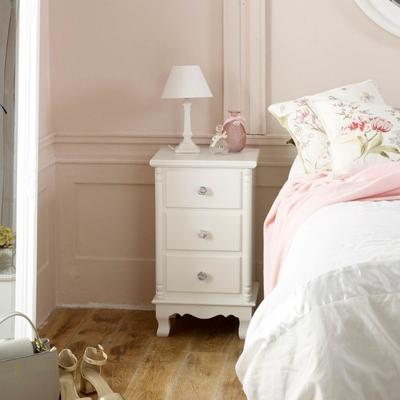 Furniture Sale
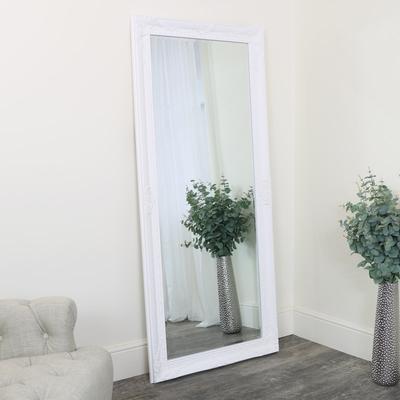 Mirrors Sale
 Home Accessories Sale
 Outlet
 Weekly Offers
 Under £10
 Under £50
 Under £100
 Over 60% off
 Meridian Walnut Range
 Meridian Black Range
 Open Shelves
 Wall Cabinets
 Dressers & Sideboards
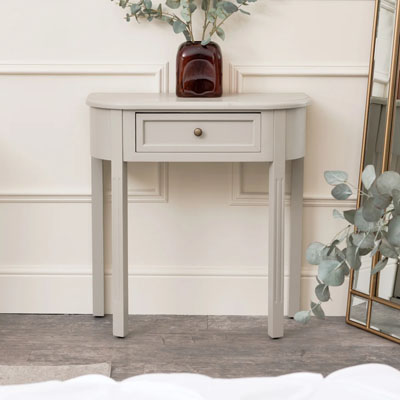 Console & Side Tables
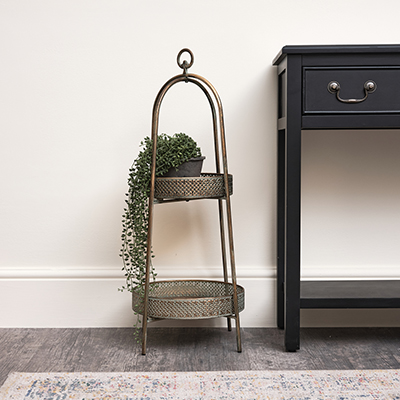 Free Standing Shelves
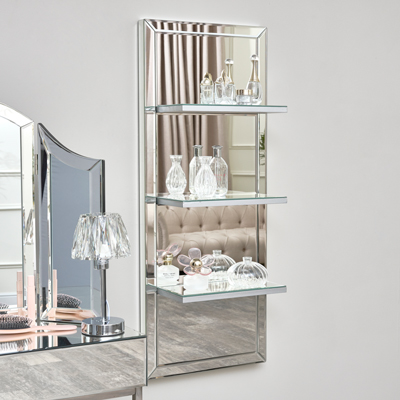 Glass Display Units & Shelving
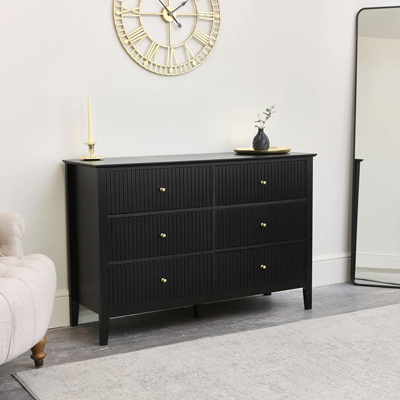 Chests of Drawers
 Stag & Animal Heads
 Angel Wings
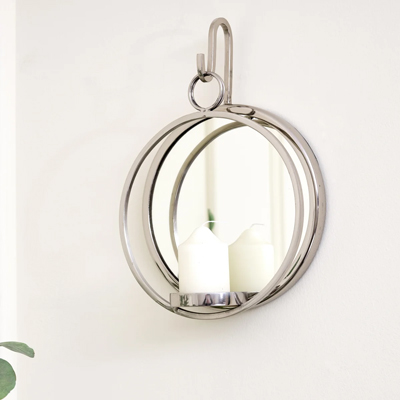 Wall Sconces
 Traditional Christmas Decorations
 Gold Christmas Decorations
 Silver Christmas Decorations
 Pink Christmas Decorations
 White Christmas Decorations
 Green Christmas Decorations
 Red Christmas Decorations
 Christmas Ornaments
 Christmas Critters
 Christmas Garlands
 Christmas Tree Toppers
 Christmas Table Decor
 Trays & Trinket Dishes
 Drawer Knobs
 Candle Holders & Candelabras
 Vases & Jugs
 Wall Hooks
 Door Mats
 Baskets & Bins
 Decorative Accessories
 Ornaments
 Shelves & Storage
  Curtain Tiebacks & Holdbacks
 Wall Art & Plaques
  Clocks
  Candles & Candle Pins
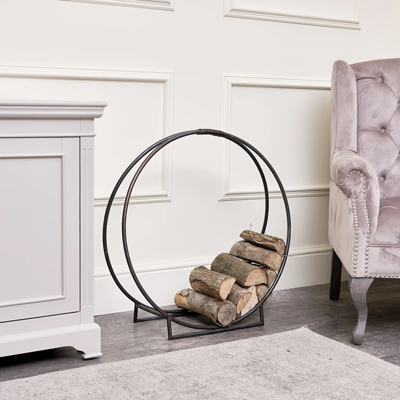 Fireside & Mantel Accessories
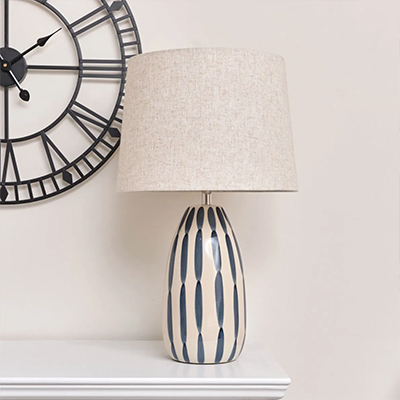 Lighting
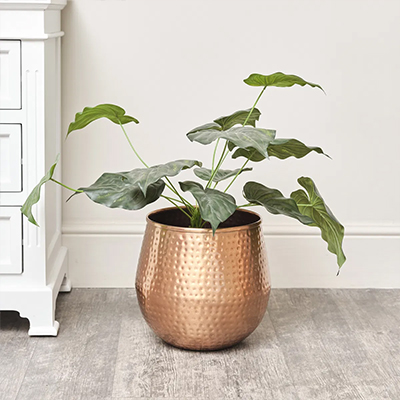 Planters & Pots
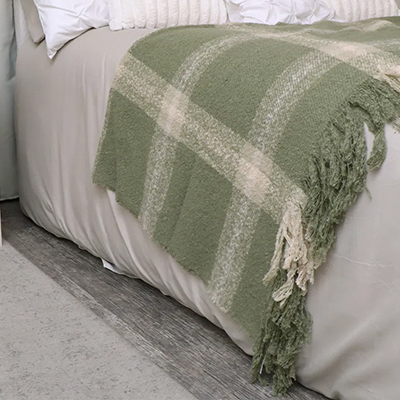 Blanket Throws
 Cushions
 Rugs
Rugs Wedding
  Garden Accessories
 Gifts
Gifts 
 View All Gifts
 Luxury Gifts
 Gifts Under £10
 Gifts Under £20
 Gifts Under £30
 Gifts Under £50
 Gifts for Him
 Gifts for Her
 Gift Vouchers & Gift Cards
 Elle Range
 Tiffany Range
 Daventry Range
 Pays Blanc Range
 Hales Range
 Ashwell Range
 Hesley Range
 Victoria Range
 Hessian Range
 Sabrina Range
 Elizabeth Range
 Abbey Range
 Aisby White Range
 Luna Range
 Slimline Haxey Range
 Staunton Range
 Venus Range
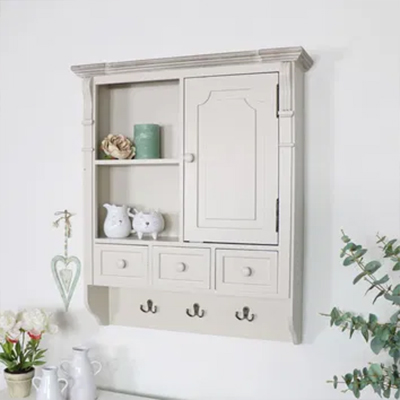 Lyon Range
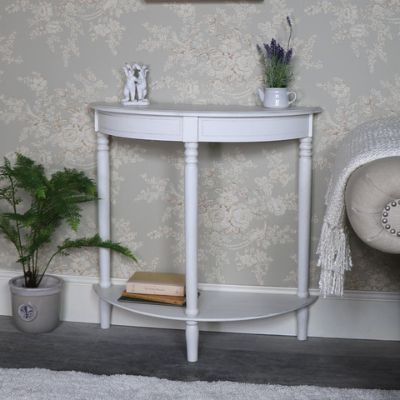 Mia Range
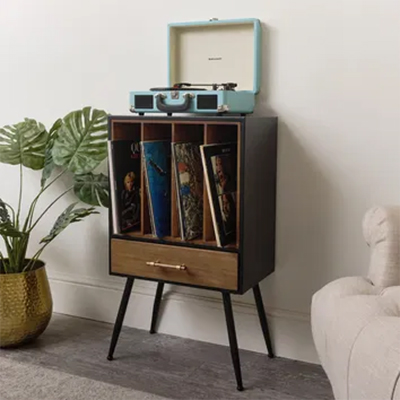 Industrial Range
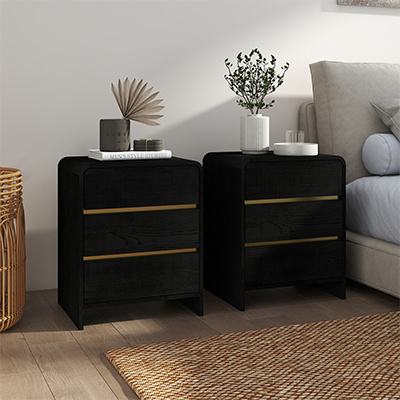 Meridian Range
  Oswin Range
 Rowley Range
 White Furniture
 Taupe Furniture
 Mirrored Furniture
 Black Furniture
 Gold Furniture
 Silver Furniture
 Cream Furniture
 Grey Furniture
 Pink Furniture
 Green Furniture
 Wooden Furniture
 Bathroom Cabinets, Shelves & Storage
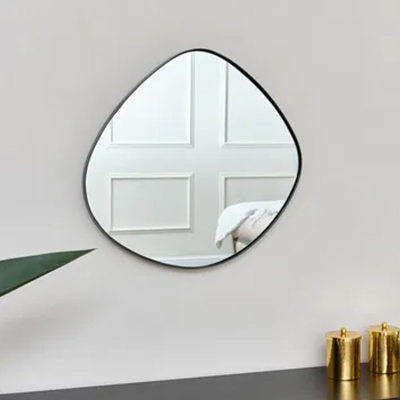 Bathroom Mirrors
 Bathroom Accessories
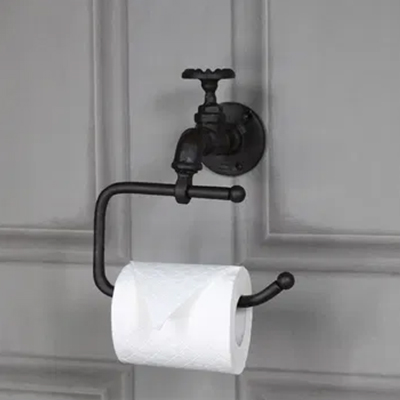 Toilet Roll Holders
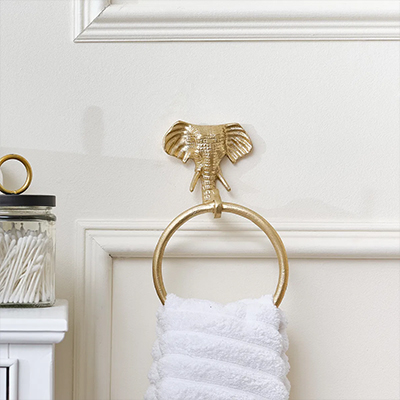 Towel Rails, Rings & Holders
 Wall Hooks & Rails
 Bedroom
 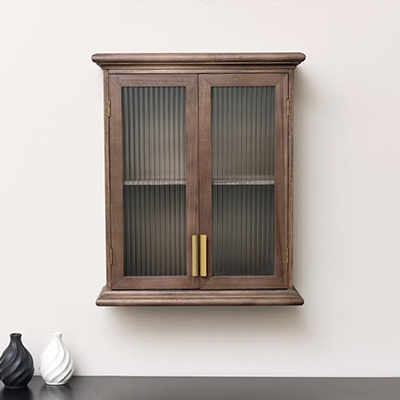 Bathroom
 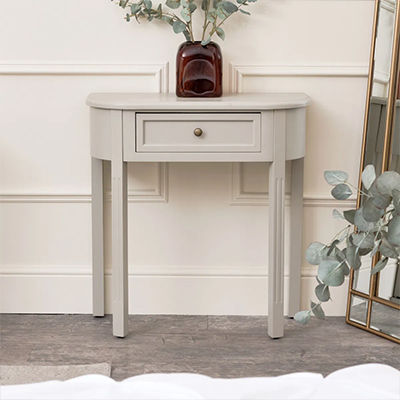 Living Room
  Kitchen & Dining
  Hallway
 Skeleton Clocks